
A robotic mower does not winterize on a fixed date. The growth of the grass, the chemistry of the lithium-ion battery, and the condition of the peripheral connectors dictate the schedule. Each year, we observe spring failures directly related to a hasty or prematurely triggered winterization.
Temperature Threshold and Lithium-Ion Chemistry: The Real Winterization Criteria
Most guides set a calendar date for bringing in the robot. This approach ignores a crucial technical parameter: below 0 °C, charging a lithium-ion cell causes metallic lithium plating on the anode. This phenomenon irreversibly degrades capacity.
Related reading : How to Successfully Negotiate Your Rent: Practical Ideas and Effective Tips
The guideline from Husqvarna, Gardena, and Worx converges on this point: never start a charging cycle when the ambient temperature drops below zero. In practice, we recommend monitoring nighttime lows rather than daily averages. A single frost episode is enough if the robot is on its base in automatic charging.
Before the final shutdown, perform a full charge and then switch the power off. A battery stored at full charge loses less capacity over several months than a battery left half empty. During winter, a top-up charge every six to eight weeks keeps the cells within a healthy voltage range, provided the storage area is frost-free.
See also : Buying a Pond Together: Tips for a Peaceful and Successful Co-ownership
To understand when and how to winterize a robotic mower, one must think in terms of soil temperature and grass root activity, not calendar months.
Reduced Mowing Profile Before Complete Shutdown of the Robotic Mower
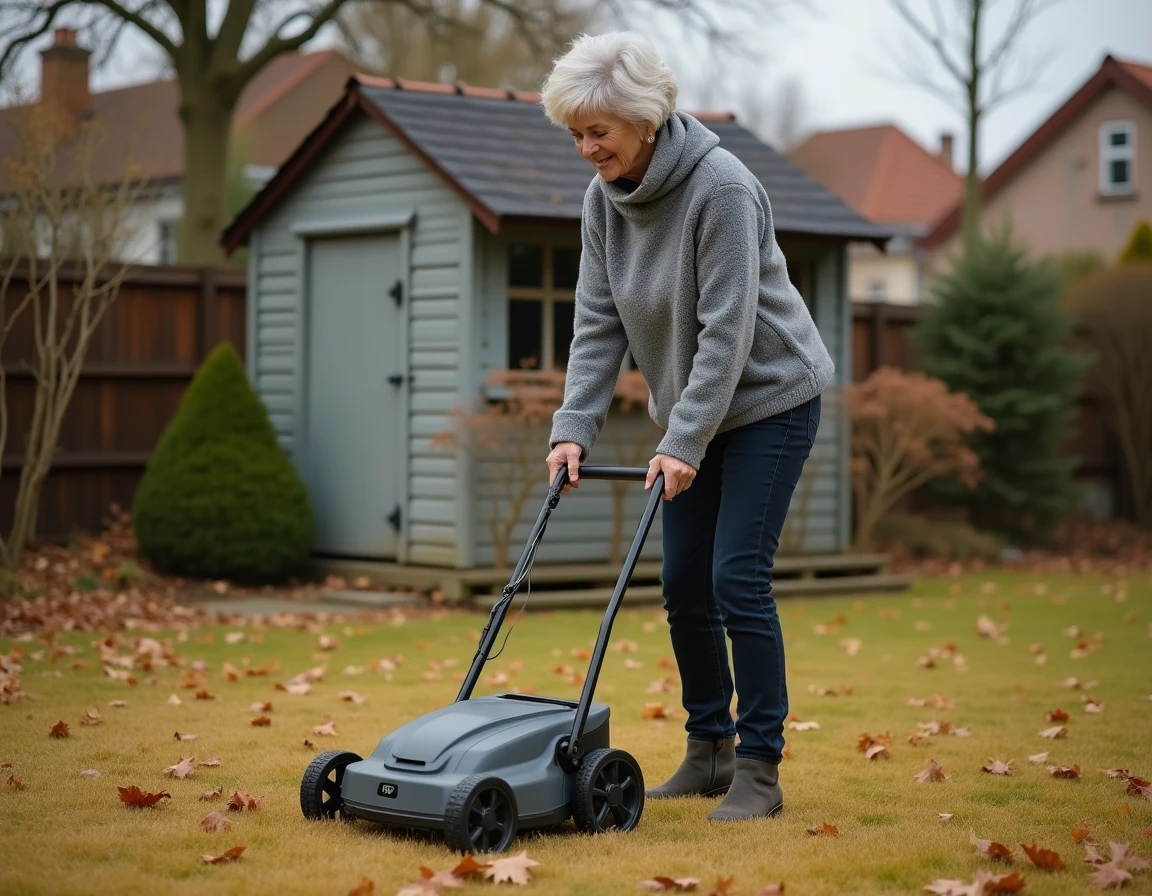
Recent manuals from Husqvarna Automower and Gardena now recommend a transition phase. Rather than a sudden stop in mid-November, switch to a reduced mowing profile for two to three weeks to better protect the grass and the cutting mechanism.
In practice, reduce the mowing frequency by half and raise the cutting height by one notch. The grass then gradually enters dormancy. A sudden stop on a lawn still in active growth leaves long blades that lie down under frost and promote fungal diseases in spring.
In Western Europe, climate variability regularly pushes the end of the season beyond November. If growth continues, winterization can be shortened. Observing the lawn remains more reliable than following a fixed schedule.
Peripheral Connectors and Charging Station: Points of Corrosion
The peripheral cable can remain in the ground all winter without issue. However, connectors exposed to the elements are an underestimated weak point. Water that stagnates in a peripheral wire connection causes copper oxidation, which increases electrical resistance. Upon restarting, the loop signal becomes erratic, and the robot loses its bearings.
- Isolate each connector in a waterproof box or a section of heat-shrink tubing. A simple plastic bag secured with tape will suffice if the connection is above ground.
- Unplug the transformer from the charging station and bring the base into a dry area. The regulation electronics do not handle repeated freeze-thaw cycles well.
- On connected models (Automower NERA, Worx Landroid), disable automatic OTA updates before cutting the power. An attempt to update a robot in deep sleep can corrupt the firmware.
This last point has appeared in recent manufacturer guides and remains absent from most consumer articles.
Mechanical Cleaning of the Chassis and Blade Replacement
The underside of the robot accumulates a crust of dried grass and damp soil that, once hardened during several months of storage, becomes abrasive. Cleaning the chassis with a gentle jet and brush before storage prevents this buildup from damaging the seals and wheel bearings.
Remove the cutting disc or blade holder depending on the model. Inspect each blade individually:
- A blade with visible nicks or a pronounced rounding on the edge must be replaced, not sharpened. The rotating blades of robots are designed to be disposable.
- Check the condition of the mounting screws. A thread marked by rust weakens the blade’s hold during rotation and generates vibrations that wear out the cutting motor.
- Take advantage of the disassembly to inspect the belt or drive gear if your model has one. A cracked belt should be replaced at this time, not in spring when the part is out of stock at the retailer.
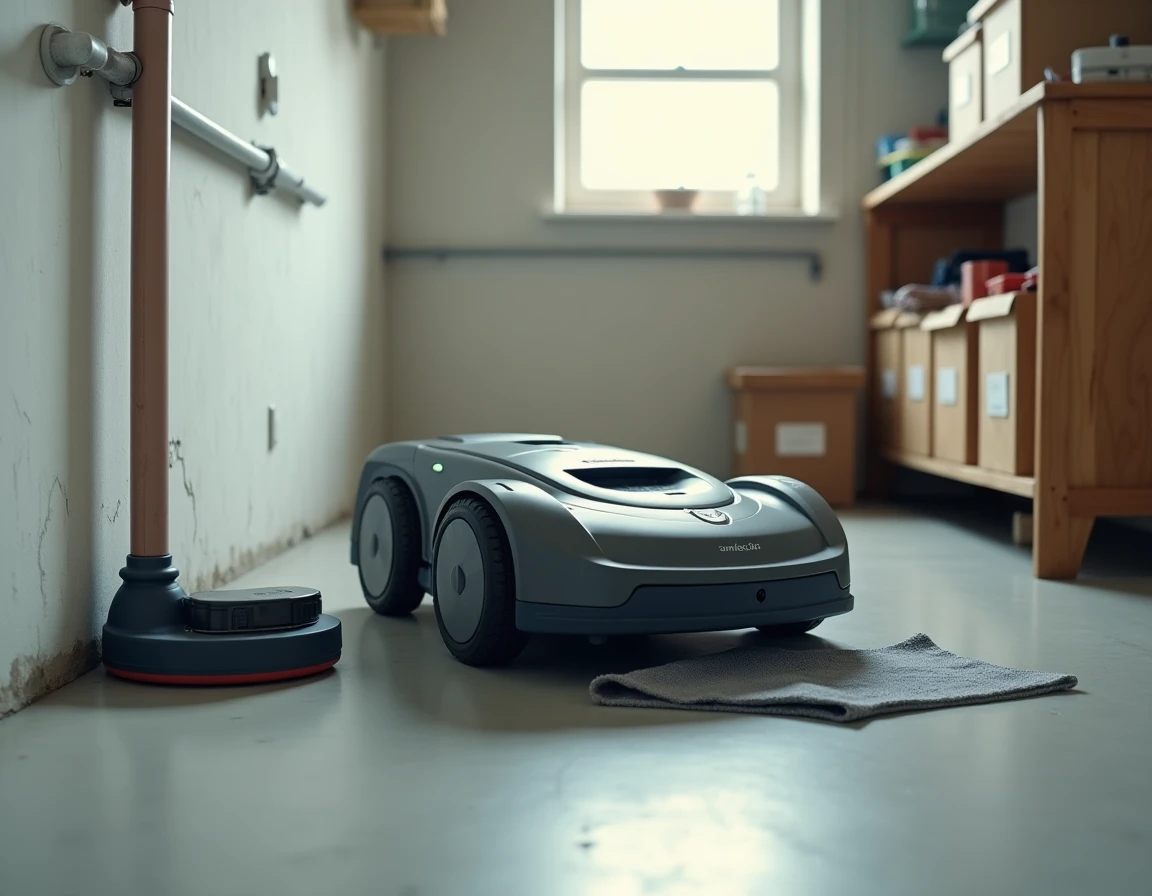
Storage of the Robotic Mower: Optimal Conditions for Winter
The storage area must remain frost-free, dry, and out of direct sunlight. An unheated garage is suitable if the temperature does not drop below 5 °C. A damp basement, even if temperate, poses a risk of condensation on the circuit boards.
Place the robot on a clean surface, ideally on cardboard or a board, to avoid direct contact with a concrete floor that condenses in cold weather. Do not cover the robot with an airtight tarp: trapped condensation inside is worse than ambient air.
In spring, before the first start, fully recharge the battery, inspect the blades, and check the continuity of the peripheral loop signal before restarting a mowing cycle. A loop test takes two minutes and saves a morning of diagnostics if a connector has suffered during winter.